As an Amazon Associate, I earn from qualifying purchases
Removing a Fastag from your car glass can seem tricky. You might worry about damaging the glass.
But fear not, it’s simpler than you think. Fastags are essential for seamless toll payments. But sometimes, you need to remove or replace them. Maybe it’s expired, or you sold your car. Whatever the reason, proper removal is important. This guide will help you remove the Fastag without leaving residue or causing damage.
You’ll learn safe and easy steps to ensure a clean removal process. Stay tuned for tips and tricks to make this task hassle-free. Your car glass will thank you!

Credit: www.reddit.com
Gather Necessary Tools
Removing a Fastag from your car glass may seem daunting. But with the right tools, it’s a straightforward task. Gathering the necessary tools beforehand will save you time and frustration. Let’s dive into what you need to get started.
Required Items
To remove the Fastag, you will need some basic items. Here is a list of required tools:
- Plastic scraper: Helps to lift the Fastag without scratching the glass.
- Adhesive remover: Essential for dissolving the glue holding the Fastag.
- Soft cloth: Used to clean the glass after removing the Fastag.
Optional Tools
While the required items will get the job done, some optional tools can make the process easier. Consider these additional tools:
- Hairdryer: Softens the adhesive, making it easier to remove the Fastag.
- Plastic gloves: Protect your hands from adhesive remover chemicals.
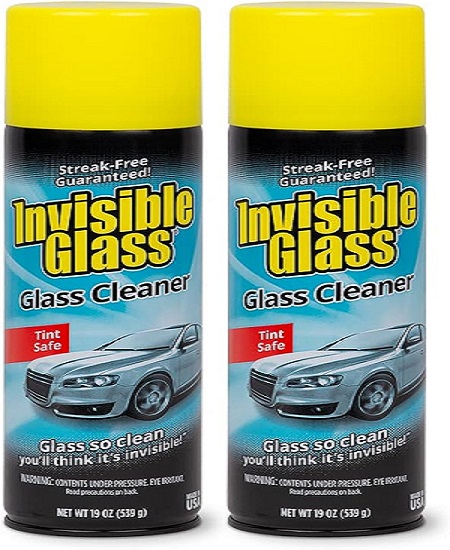
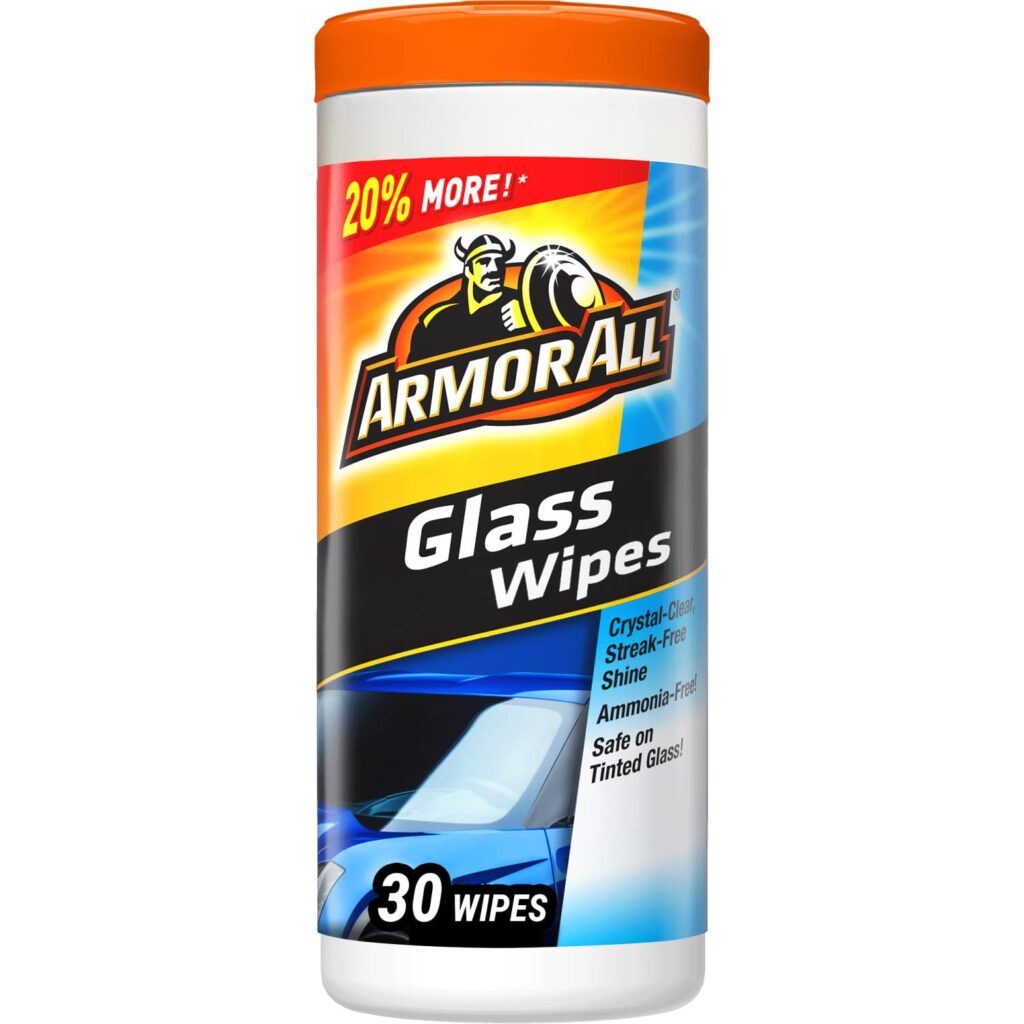
- Glass cleaner: Ensures a clear, streak-free finish on your car glass.
Prepare The Area
Before removing the Fastag from your car glass, it’s crucial to prepare the area properly. This step ensures that the process is smooth and prevents damage to your car glass.
Clean The Glass
Start by thoroughly cleaning the glass. Use a glass cleaner and a soft cloth. This removes any dirt or grime. Clean glass makes it easier to remove the Fastag without leaving residue.
Check For Damage
Inspect the glass for any existing damage. Look for cracks or chips. If there is damage, proceed with caution. Removing the Fastag could worsen the damage. It’s better to be safe and avoid further issues.
Soften The Adhesive
Removing a Fastag from your car glass can be tricky. The key step is to soften the adhesive. This makes the process smoother and lessens the risk of damage. Let’s explore two effective methods to soften the adhesive.
Use Heat
Applying heat can loosen the adhesive grip. Use a hairdryer or a heat gun. Set it on low heat to avoid damaging the glass. Move it back and forth over the Fastag. Keep the heat source a few inches away. This ensures the adhesive softens evenly. Test the tag’s edges. If it lifts easily, the adhesive is soft enough. Continue to the next step.
Apply Solvents
Solvents can also soften the adhesive. Choose an adhesive remover or rubbing alcohol. Apply the solvent to a cloth. Gently rub the solvent on the Fastag edges. Allow it to sit for a few minutes. This will weaken the adhesive. Try lifting the tag gently. If it doesn’t lift, apply more solvent. Be patient. Repeat the process until the tag comes off easily.

Credit: www.youtube.com
Peel Off The Fastag
Peeling off a Fastag from your car glass can be a daunting task. Many worry about damaging the glass or leaving adhesive residue. Fortunately, with the right approach, you can easily remove the Fastag without any hassle. Follow these simple steps to ensure a smooth removal process.
Start From A Corner
To begin, locate a corner of the Fastag. This will be your starting point. Use your fingernail or a plastic tool to lift the edge gently. Be careful not to scratch the glass. Once you have a grip on the corner, proceed to the next step.
Use A Plastic Card
With the corner lifted, slide a plastic card under the Fastag. A credit card or similar object works well. Slowly move the card under the sticker, loosening the adhesive. Keep applying gentle pressure to avoid tearing the Fastag. This method helps in removing the Fastag smoothly without leaving residue.
If any adhesive remains, use a glass cleaner to wipe it off. A soft cloth will ensure the glass remains scratch-free. Now, your car glass is ready for a new Fastag or a clean look.
Remove Residual Adhesive
Removing a Fastag from your car glass can leave behind sticky adhesive. This residue can be unsightly and difficult to remove. To ensure a clean surface, follow these steps to remove residual adhesive effectively.
Use Adhesive Remover
First, get a commercial adhesive remover from your local store. Apply it to the adhesive on the glass. Let it sit for a few minutes. This will soften the residue. Use a cloth or scraper to gently rub off the adhesive. Take care not to scratch the glass.
Clean With Soap And Water
Next, clean the area with soap and water. Use a mild dish soap and warm water. Dip a soft cloth into the soapy water and wipe the glass. This will remove any remaining adhesive remover. Rinse with clean water and dry with a microfiber cloth.
Inspect And Clean The Glass
Inspecting and cleaning the car glass after removing the Fastag is crucial. It ensures there are no residues or scratches left behind. This step not only makes your car look better but also maintains the integrity of the glass.
Check For Scratches
After removing the Fastag, closely inspect the glass for scratches. Use a flashlight to spot any fine lines or marks. Pay special attention to the area where the Fastag was placed. Identifying scratches early helps in addressing them before they become worse.
Polish The Glass
Once you have checked for scratches, it is time to polish the glass. Use a good quality glass polish and a soft cloth. Apply a small amount of polish to the cloth and gently rub it in circular motions. This helps to remove any adhesive residue and minor scratches, leaving the glass smooth and clear.
Polishing also enhances visibility, making driving safer. Ensure you clean the entire glass surface, not just the area where the Fastag was. This gives the glass a uniform, clear appearance.
Dispose Of The Fastag
Dispose of the Fastag properly to ensure it does not harm the environment. The process involves removing and discarding it in a responsible manner. Learn the correct ways to dispose of your Fastag to avoid unnecessary waste.
Proper Disposal Methods
First, remove the Fastag from your car glass carefully. Avoid tearing it apart. Use a sharp object like a blade to lift the edge. Slowly peel it off without damaging the windshield. Once removed, place it in a sealed bag. This prevents any adhesive residue from sticking to other surfaces.
Recycle If Possible
Check if your Fastag can be recycled. Some tags contain materials that can be processed. Contact your local recycling center for information. If recycling is an option, follow their guidelines. This helps reduce environmental impact.

Credit: www.reddit.com
Frequently Asked Questions
How To Remove Fastag From Car Glass?
To remove Fastag, gently peel it from one corner. Use a plastic scraper if needed. Avoid using metal tools to prevent scratches.
Can Fastag Be Reused After Removal?
No, Fastag cannot be reused once removed. It gets damaged during removal and loses its functionality.
What Tools Are Needed To Remove Fastag?
You need a plastic scraper or a credit card. Additionally, you may use adhesive remover for any sticky residue.
Will Removing Fastag Damage The Glass?
No, if done carefully. Use a plastic scraper and avoid applying excessive force to prevent glass damage.
Conclusion
Removing a Fastag from your car glass can be simple. Follow the steps carefully. Ensure you gather all necessary tools beforehand. Gently peel the Fastag without damaging the glass. Clean the residue with a suitable adhesive remover. Repeat the process if needed for stubborn spots.
Taking time ensures a smooth removal. Your car glass will look clean and clear again. Safe travels with your newly cleaned windshield!
As an Amazon Associate, I earn from qualifying purchases


