Are you ready to give your Ford F150 a sleek, modern upgrade? Installing LED lights is one of the easiest and most effective ways to enhance both the look and functionality of your truck.
Whether you want brighter headlights, stylish accent lights, or improved off-road visibility, this guide will walk you through every step. You don’t need to be a mechanic or tech expert—just follow along, and you’ll have your Ford F150 lighting up the road in no time.
Keep reading to discover simple tips and tricks that make the installation smooth and stress-free. Your truck deserves to shine!
Choose The Right Led Lights
Choosing the right LED lights is important for your Ford F150. The correct lights improve visibility and add style. Picking the wrong type can cause problems and cost more in the long run.
Consider the brightness, color, and size of the LED lights. These factors affect how well the lights work and how they look on your truck. Also, check the power needs and compatibility with your vehicle’s system.
Types Of Led Lights For Ford F150
There are many LED options for your Ford F150. Some common types include headlights, fog lights, and light bars. Each type has a specific use and fits different parts of the truck. Choose the type that matches your needs best.
Brightness And Color Temperature
Brightness is measured in lumens. Higher lumens mean brighter lights. Color temperature is in kelvins. Lower kelvins give a warm yellow light. Higher kelvins offer a cool white or blue light. Pick the brightness and color that suit your driving style.
Size And Fit
LED lights come in various sizes. The size must fit your Ford F150’s light housing. Measure the space before buying. Proper fit ensures easy installation and good light focus.
Power And Compatibility
Check the power requirements of the LED lights. Your truck’s electrical system must support the lights. Using incompatible lights may cause flickering or damage. Choose LEDs designed for Ford F150 or similar vehicles.
Gather Necessary Tools
Gathering the right tools is the first step to install LED lights on your Ford F150. Having everything ready saves time and avoids frustration. This guide lists all the tools you need for a smooth installation.
Basic Hand Tools
Start with simple tools like screwdrivers and pliers. A Phillips and flathead screwdriver help remove panels and screws. Needle-nose pliers assist with small wires and connectors. A wrench set may be necessary to loosen bolts.
Wire Strippers And Crimpers
Wire strippers remove insulation from wires without damage. Crimpers secure connectors to wires firmly. Both tools ensure good electrical connections for your LED lights.
Electrical Tape And Heat Shrink Tubing
Electrical tape protects wire connections from moisture and damage. Heat shrink tubing provides a tight, durable seal. Use them to keep wiring safe and neat.
Multimeter
A multimeter tests voltage and continuity in wires. It helps confirm power sources before connecting LEDs. Using a multimeter prevents mistakes and protects your vehicle’s electrical system.
Power Drill And Drill Bits
A power drill may be needed to make holes for mounting lights. Choose drill bits that match the size of mounting hardware. Drilling carefully prevents damage to your truck.
Zip Ties And Mounting Hardware
Zip ties organize and secure wires along the truck frame. Mounting hardware attaches the LED lights firmly. Keep these handy to complete a tidy and safe installation.
Prepare Your Ford F150
Preparing your Ford F150 is the first step before installing LED lights. This step ensures safety and a smooth installation process. Proper preparation helps avoid damage to your truck and the new lights. Follow these simple tasks to get your F150 ready.
Clean The Surface Areas
Start by cleaning the areas where you will place the LED lights. Use a mild detergent and water to remove dirt and grease. Dry the spots well with a clean cloth. This helps the LED lights stick better and last longer.
Disconnect The Battery
Always disconnect the truck’s battery before working with electrical parts. This prevents short circuits and electric shocks. Use a wrench to remove the negative cable first. Keep the cable away from the battery terminal until the job is done.
Gather The Right Tools
Collect all tools needed for the installation. Common tools include screwdrivers, pliers, wire strippers, and electrical tape. Having tools ready saves time and avoids frustration during the process.
Check The Led Light Kit
Inspect the LED light kit before starting. Confirm all parts are included and undamaged. Look for wires, connectors, mounting brackets, and instructions. Understanding the kit helps you install quickly and correctly.

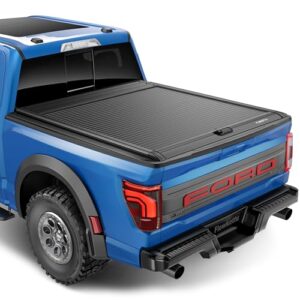
Credit: www.diodedynamics.com
Remove Old Lights
Removing old lights from your Ford F150 is the first step in installing new LED lights. This process clears space and prevents damage. Take your time to avoid breaking parts or wires. Follow these steps carefully for a smooth removal.
Gather Basic Tools
Get the tools ready before starting. You need a screwdriver, socket wrench, and gloves. These tools help remove screws and protect your hands.
Open The Hood And Locate Lights
Lift the hood of your Ford F150. Find the back of the headlight assembly inside the engine bay. This is where you will work.
Disconnect The Battery
Safety first. Disconnect the negative terminal of the battery. This stops electrical flow and avoids shocks or short circuits.
Remove Screws And Clips
Look for screws and clips holding the old lights. Use the screwdriver or socket wrench to remove them. Keep the screws safe for reinstallation.
Disconnect Wiring Harness
Find the wiring harness connected to the lights. Press the clip and gently pull to disconnect. Do not pull on the wires directly.
Carefully Remove Old Lights
Once loose, gently pull the old lights out of the housing. Avoid forcing them to prevent damage. Set the old lights aside.
Test The New Led Lights
Testing your new LED lights on the Ford F150 is an important step. It ensures the lights work properly and safely. This step helps catch any problems early. It also confirms correct installation. Follow these simple checks to test your lights well.
Turn On The Vehicle And Lights
Start your Ford F150. Switch on the headlights or the specific lights you installed. Check if all LED lights illuminate. Each light should glow bright and steady. Flickering or no light means a connection issue.
Inspect Each Light Individually
Look closely at each LED light. Make sure all bulbs shine evenly. No dim or dark spots should appear. This check helps find bad bulbs or wiring faults. Replace or fix any faulty parts immediately.
Test All Light Modes
Operate different lighting modes, like high beam, low beam, and turn signals. Confirm that every mode works without delay or flicker. This confirms the electrical system handles the LEDs correctly. Proper function in all modes is critical for safety.
Check For Error Messages
Watch the dashboard for any warning lights or error codes. Some vehicles detect LED issues and alert the driver. Address any alerts by reviewing the wiring or bulb type. Correcting errors avoids future problems on the road.
Perform A Night Test
Test your LED lights at night or in a dark area. Observe the brightness and coverage on the road. Good LED lights improve visibility and reduce glare. Ensure your lights illuminate the road clearly and evenly.
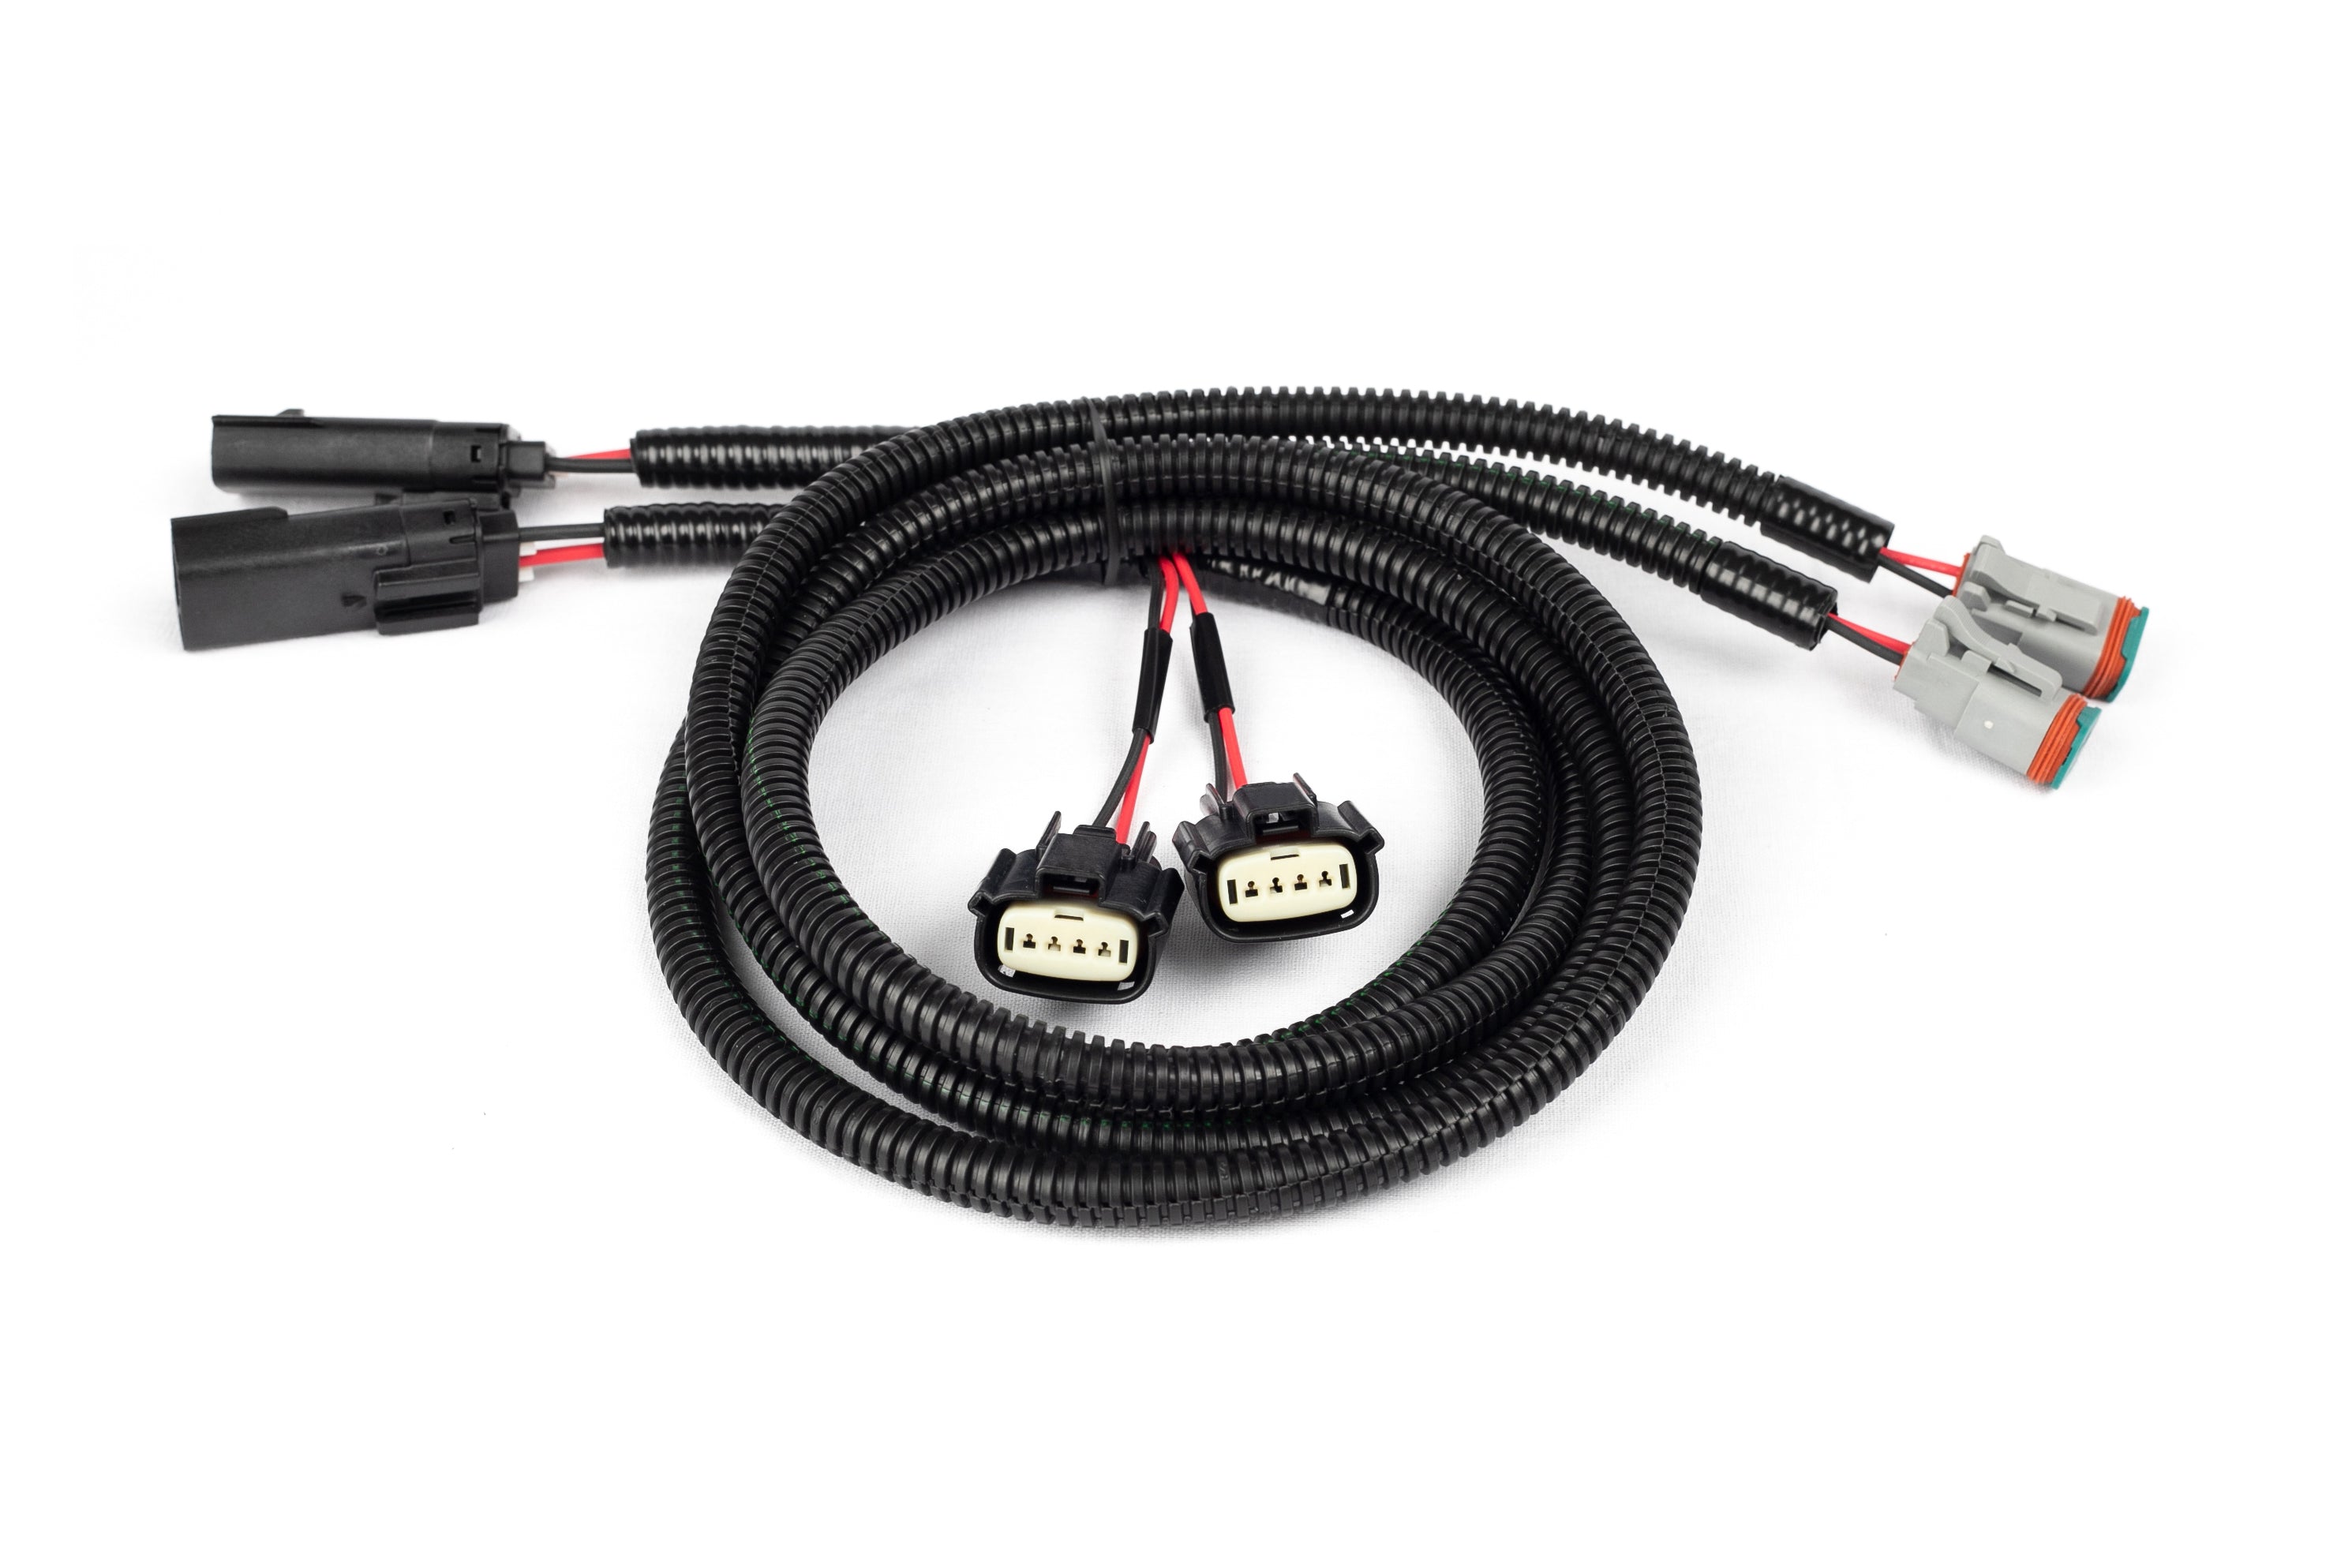
Credit: www.starkey-products.com
Connect The Wiring
Start by matching the LED light wires to the truck’s wiring harness. Secure connections with wire connectors or electrical tape. Double-check all links before powering the lights.
Locate The Wiring Harness
Start by finding the wiring harness under the hood or inside the cabin. The wiring harness connects the truck’s electrical system to the lights. Look near the headlights or behind the bumper for easy access. Use a flashlight to see better in dark areas. Check your Ford F150 manual for exact harness locations. Avoid pulling or yanking wires to prevent damage.
Use Connectors Safely
Choose the right connectors for your LED lights and truck wires. Use crimp connectors or quick splice connectors for secure joints. Strip about half an inch of insulation from each wire before connecting. Make sure wires do not touch metal parts to avoid shorts. Wrap connections with electrical tape or heat shrink tubing. Test the lights before finalizing the setup. Secure all wires with zip ties to prevent loose ends.
Mount The Led Lights
Mounting LED lights on your Ford F150 is a key step in the installation process. Proper mounting ensures your lights stay secure and work well. Follow simple steps to place and fix the lights safely.
This section guides you through positioning the lights and securing the brackets. Take your time and check each step carefully.
Position The Lights Correctly
Choose the right spot for your LED lights. Check the area for flat surfaces and space. Avoid places that block your view or get damaged easily. Aim the lights where they will shine best. Make sure they do not interfere with any parts of the truck.
Test the angle of the lights before fixing them. This helps to avoid glare and improves visibility. Adjust the position until you find the best fit.
Secure The Mounting Brackets
Use the mounting brackets that come with your LED lights. Hold the bracket in place and mark holes for screws. Drill holes carefully if needed. Attach the brackets tightly with screws or bolts. Check that they do not move or wiggle.
Double-check the brackets after tightening. A solid mount keeps your lights safe on rough roads. Tighten all screws and bolts evenly for best results.

Credit: www.cjponyparts.com
Check For Proper Function
After installing LED lights on your Ford F150, checking for proper function is very important. This step makes sure the lights work safely and correctly. It helps you avoid problems later.
Testing your LED lights is quick and easy. It confirms the wiring and connections are right. Also, it shows if the lights shine as they should.
Turn On The Lights And Inspect
Start by turning on your Ford F150’s lights. Check all LED lights to see if they glow evenly. Look for any flickering or dim spots. These signs may mean a loose wire or bad connection.
Test Different Light Modes
Switch between modes like low beam, high beam, and turn signals. Watch how the LEDs respond. Each mode must work without delay or failure. Faulty modes can cause safety issues on the road.
Check For Unusual Heat Or Smells
Feel the LED lights after a few minutes on. They should be warm, not hot. Hot LEDs may indicate electrical problems. Also, notice any strange smells near the lights. This could mean wiring issues.
Inspect The Light Pattern And Brightness
Observe the light pattern on a flat surface or wall. The LEDs should provide clear and focused light. Uneven brightness or dark spots reduce visibility. Adjust or re-install if the pattern is off.
Adjust Light Alignment
Adjusting the light alignment is a key step after installing LED lights on your Ford F150. Proper alignment ensures the lights shine where you need them most. This improves road visibility and keeps other drivers safe.
Misaligned lights can cause glare or reduce your view at night. Taking time to set the right angle makes a big difference. The process is simple and requires just a few tools.
Prepare Your Truck For Alignment
Park your Ford F150 on a flat surface facing a wall or garage door. Keep the truck about 25 feet from the wall. Make sure the tires are straight and the vehicle is empty.
Mark The Headlight Centers On The Wall
Turn on the LED lights and shine them on the wall. Use tape or a marker to mark the light center points. These marks help guide your adjustments for each light.
Adjust The Vertical Aim
Find the adjustment screws near the headlight housing. Turn the vertical screw to move the beam up or down. Aim the lights slightly below the marks on the wall to avoid blinding others.
Adjust The Horizontal Aim
Use the horizontal adjustment screw to move the light left or right. Align the beams to shine straight ahead or slightly right. This keeps the light focused on the road ahead.
Test Your Alignment On The Road
Drive your truck at night to check the light pattern. Notice if the road is well lit and there is no glare. Make small adjustments as needed for the best view.
Maintain Your Led Lights
Maintaining your LED lights on a Ford F150 ensures they work well and last long. Simple care steps keep the lights bright and safe. Regular checks help spot problems early. This saves time and money over time. Follow these tips to keep your LED lights in top shape.
Clean Regularly
Dirt and dust can dim LED lights fast. Use a soft cloth and mild soap to clean the lenses. Avoid harsh chemicals that can damage the surface. Clean the lights at least once a month. This keeps the brightness clear and strong. Clean lights also improve your truck’s look and safety.
Inspect Wiring Periodically
Check the wiring of your LED lights every few months. Look for loose connections or worn-out wires. Damaged wires can cause flickering or failure. Use electrical tape to fix small issues. For bigger problems, get professional help. Good wiring keeps your lights working without interruption.
Frequently Asked Questions
How Do I Start Installing Led Lights On A Ford F150?
Begin by gathering tools and reading the LED light kit instructions carefully.
What Tools Are Needed For Ford F150 Led Light Installation?
Common tools include screwdrivers, wire strippers, electrical tape, and a drill.
Can I Install Led Lights Without Professional Help?
Yes, many LED kits are designed for easy DIY installation with basic skills.
Where Should I Place Led Lights On My Ford F150?
Popular spots are the grille, under the truck bed, or near the headlights.
How Do I Connect Led Lights To My Ford F150 Battery?
Use the wiring harness included, connecting positive and negative terminals securely.
Is It Necessary To Remove Old Lights Before Installing Leds?
Removing old lights is often required for proper fitting and wiring of LEDs.
How Long Does It Take To Install Led Lights On A Ford F150?
Installation usually takes between 1 to 3 hours depending on experience.
Are Led Lights Safe For Ford F150’s Electrical System?
Yes, quality LED kits come with voltage regulators to prevent electrical issues.
Can Led Lights Be Controlled By Ford F150’s Existing Switches?
Many LED kits allow connection to factory switches for easy on/off control.
How To Maintain Led Lights On A Ford F150 For Longevity?
Keep lights clean, check wiring regularly, and avoid water exposure during off-road use.
Conclusion
Installing LED lights on your Ford F150 can improve visibility and style. Follow each step carefully to ensure a safe setup. Use the right tools and take your time during installation. Double-check all connections before testing the lights. Enjoy the brighter, energy-saving lighting on your truck.
This upgrade adds both function and a fresh look to your vehicle. Keep your Ford F150 ready for any adventure with LED lights. Simple changes can make a big difference on the road.
As an Amazon Associate, I earn from qualifying purchases